Creating a beautiful outdoor space doesn’t have to break the bank. With some creativity, resourcefulness, and basic DIY skills, you can build a patio that enhances your home’s outdoor living area without spending a fortune. In this guide, we’ll walk you through the steps to build a DIY patio for less than $300, helping you save money while enjoying the benefits of an inviting outdoor retreat.
1. Planning and Designing Your Patio
Before diving into the construction process, take time to plan and design your patio layout. Consider factors such as the size of your outdoor space, the desired shape and style of the patio, and any specific features or elements you want to incorporate, such as seating areas, a fire pit, or decorative elements.
2. Choosing Affordable Materials
One of the keys to building a budget-friendly patio is selecting affordable materials that still offer durability and aesthetic appeal. Opt for cost-effective options such as concrete pavers, gravel, or recycled materials like reclaimed bricks or pallet wood. These materials can be sourced inexpensively from local home improvement stores, salvage yards, or online marketplaces.
3. Preparing the Site
Prepare the site for your patio by clearing the area of any vegetation, debris, or obstacles. Use a shovel, rake, and level to create a smooth and level surface for the patio base. Consider adding a weed barrier fabric to prevent weed growth between pavers or beneath gravel.
4. Building the Patio Base
Depending on the chosen materials, you’ll need to build a sturdy base for your patio. For concrete pavers, excavate the area to a depth of about 6 inches, then add a base layer of crushed stone or gravel followed by a layer of sand for leveling. Compact the base using a plate compactor or tamper to ensure stability.
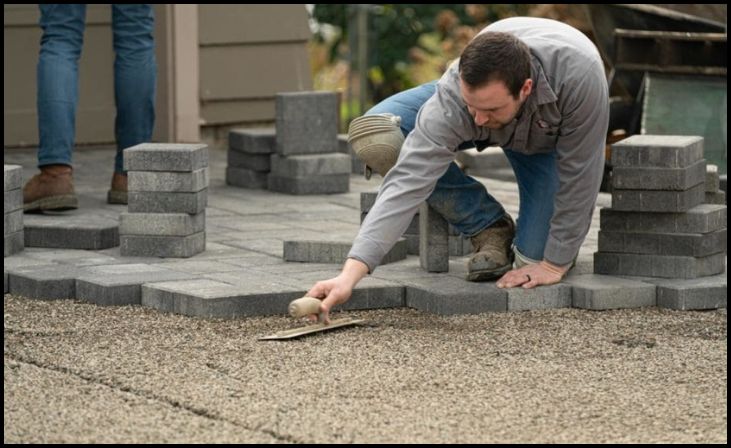
5. Installing the Patio Surface
Once the base is in place, begin installing the patio surface material. For concrete pavers, lay them in your desired pattern, leaving a small gap between each paver for joint sand. Use a rubber mallet and level to ensure each paver is even and level with the surrounding ones. Fill the gaps with joint sand and compact the surface again to set the pavers in place.
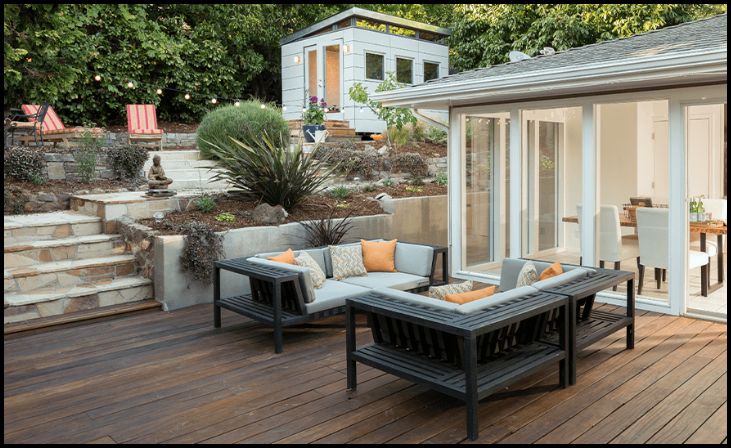
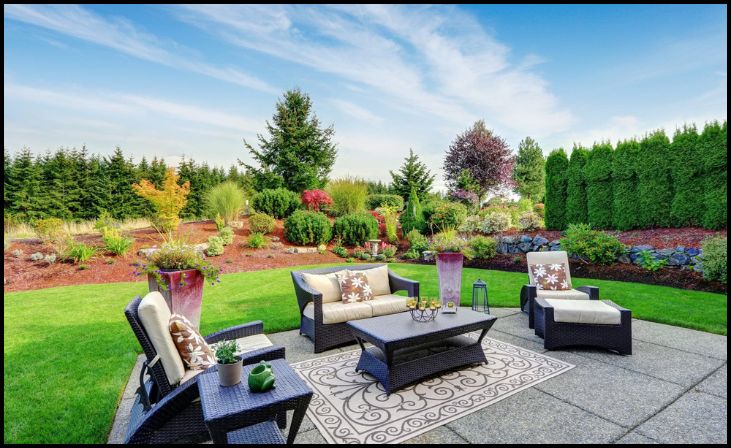
6. Adding Finishing Touches
Enhance the look and functionality of your DIY patio by adding finishing touches. Consider installing edging materials, such as plastic or metal paver restraints, to keep the pavers in place and create a clean edge. Add seating options, outdoor furniture, and decor elements like potted plants, string lights, or a small water feature to personalize the space and make it inviting.
7. Maintaining Your Patio
To ensure your DIY patio remains in good condition for years to come, practice regular maintenance. Sweep the surface regularly to remove debris and prevent buildup. For paver patios, consider applying a sealant to protect against stains, moisture, and fading. Address any issues promptly, such as uneven pavers or weed growth, to keep your patio looking its best.
8. Cost-Saving Tips
Achieving a budget-friendly patio requires smart shopping and cost-saving strategies. Consider buying materials in bulk or during sales promotions to save money. Explore DIY tutorials and guides for tips on efficient installation techniques. Repurpose or recycle materials whenever possible, such as using old bricks for a rustic patio or repurposing wooden pallets for furniture.
Conclusion
Building a DIY patio for less than $300 is achievable with careful planning, smart material choices, and a bit of elbow grease. By following these steps and incorporating cost-saving tips, you can create a functional and stylish outdoor space that enhances your home and allows you to enjoy the beauty of the outdoors without breaking your budget.