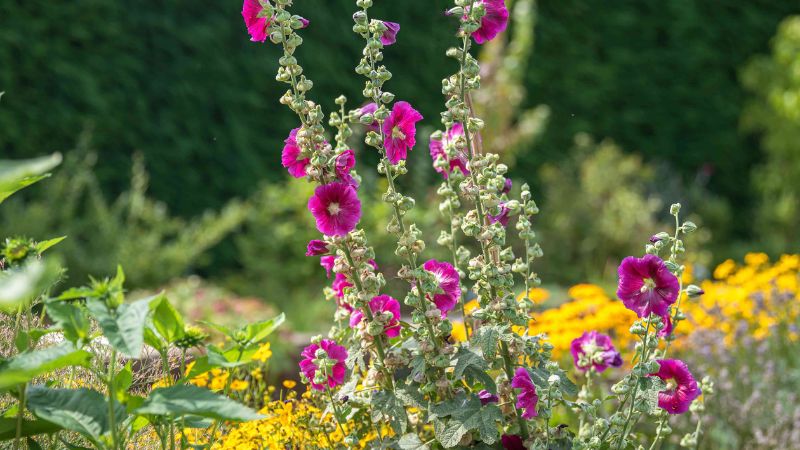
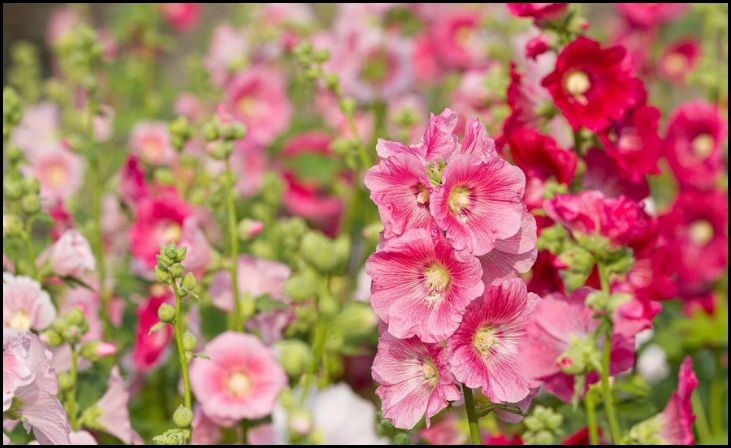
Hollyhocks, known scientifically as Alcea, are a classic addition to any flower garden, bringing a touch of old-fashioned charm with their towering spikes of vibrant, colorful blooms. These perennials or biennials are relatively easy to grow and can transform your garden into a picturesque landscape. Whether you’re a seasoned gardener or a novice, this guide will walk you through the essential steps to successfully grow hollyhocks in your flower garden.
Choosing the Right Location
Selecting an appropriate location is crucial for growing healthy hollyhocks. These plants thrive in areas that receive full sun, ideally 6 to 8 hours of sunlight per day. While they can tolerate partial shade, full sun exposure ensures robust growth and vibrant blooms.
Soil Requirements
Hollyhocks prefer well-draining soil with a neutral to slightly alkaline pH. Loamy soil enriched with organic matter, such as compost or well-rotted manure, provides the ideal growing conditions. Ensure the soil is loose and fertile to support the deep root system of hollyhocks.
Planting Hollyhocks
Proper planting techniques set the foundation for successful hollyhock cultivation. Here’s a step-by-step guide to planting hollyhocks in your garden.
Starting from Seeds
Hollyhocks can be started from seeds, which is often the most economical method.
- Timing: Sow seeds indoors 6 to 8 weeks before the last frost date or directly in the garden after the danger of frost has passed.
- Seed Depth: Plant the seeds 1/4 inch deep in seed-starting mix or directly into the garden soil.
- Spacing: Space the seeds 12 to 18 inches apart to allow room for growth and airflow.
Transplanting Seedlings
If you prefer to start with seedlings, transplant them to the garden when they have at least two sets of true leaves and the danger of frost has passed.
- Hardening Off: Gradually acclimate the seedlings to outdoor conditions by placing them outside for increasing periods over a week.
- Planting: Dig holes that are twice the size of the root ball and plant the seedlings at the same depth they were growing in their pots.
- Spacing: Ensure proper spacing of 12 to 18 inches to prevent overcrowding.
Watering and Feeding

Consistent watering and appropriate feeding are vital for the health and growth of hollyhocks.
Watering
Hollyhocks require regular watering, especially during dry spells. However, overwatering can lead to root rot. Water the plants at the base to keep the foliage dry and reduce the risk of fungal diseases. Aim for deep watering once a week, ensuring the soil remains moist but not waterlogged.
Feeding
Incorporate a balanced, slow-release fertilizer into the soil at planting time. During the growing season, feed hollyhocks with a balanced liquid fertilizer every 4 to 6 weeks to promote healthy growth and abundant blooms.
Supporting Hollyhocks
Given their height, hollyhocks often need support to prevent them from toppling over, especially in windy conditions.
Staking
Use stakes or garden supports to provide stability. Insert the stakes into the ground next to the plants and loosely tie the stems to the stakes with garden twine. As the plants grow, adjust the ties to ensure they remain secure but not constricted.
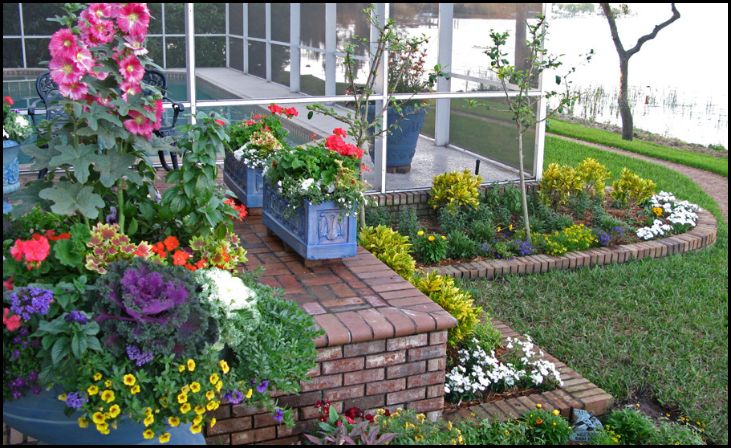
Fencing
Alternatively, planting hollyhocks along a fence or wall can provide natural support. This method not only offers stability but also enhances the visual appeal of your garden by creating a striking vertical display.
Dealing with Pests and Diseases

Hollyhocks are prone to certain pests and diseases that can hinder their growth. Taking preventive measures and addressing issues promptly is key to maintaining healthy plants.
Common Pests
- Aphids: These small, sap-sucking insects can be controlled with insecticidal soap or neem oil.
- Japanese Beetles: Handpick these beetles or use traps to reduce their population.
Common Diseases
- Rust: Hollyhock rust is a common fungal disease that causes orange-brown spots on leaves. Remove and destroy affected leaves and apply a fungicide if necessary.
- Powdery Mildew: This fungal disease appears as a white powdery coating on leaves. Improve air circulation and apply a fungicide to control its spread.
Pruning and Deadheading
Regular pruning and deadheading encourage continuous blooming and maintain the plant’s shape.
Deadheading
Remove spent blooms to prevent the plant from diverting energy to seed production. This practice encourages the growth of new flowers and extends the blooming period.
Pruning
Cut back the stems to ground level after the flowering season is over. This not only tidies up the garden but also prepares the plants for the next growing season.
Overwintering Hollyhocks
In colder climates, hollyhocks may require some winter protection to survive harsh conditions.
Mulching
Apply a thick layer of mulch around the base of the plants to insulate the roots and retain moisture. Use straw, leaves, or compost as mulch.
Shelter
In regions with severe winters, cover the plants with burlap or frost cloth to shield them from extreme temperatures and frost damage.
Enjoying Hollyhocks in Your Garden
With their towering presence and vivid blooms, hollyhocks add a stunning vertical element to your garden. They attract pollinators like bees and butterflies, enhancing the biodiversity of your garden. By following these guidelines, you can cultivate healthy and beautiful hollyhocks that will grace your garden with their timeless beauty year after year.
In conclusion, growing hollyhocks requires attention to location, soil preparation, planting techniques, watering, feeding, support, pest and disease management, pruning, and overwintering. With proper care, hollyhocks will reward you with spectacular blooms and a nostalgic charm that will elevate the aesthetic appeal of your flower garden.